CHROME EXTENSION
Get up and running in minutes.
STEP 1
The WAVV Chrome extension isn't publicly listed on the Chrome Web Store — use this direct link to install it.
Get the Install Link1
STEP 2
WAVV requires Google Chrome. Other browsers like Edge, Firefox, and Safari are not currently supported.
2
STEP 3
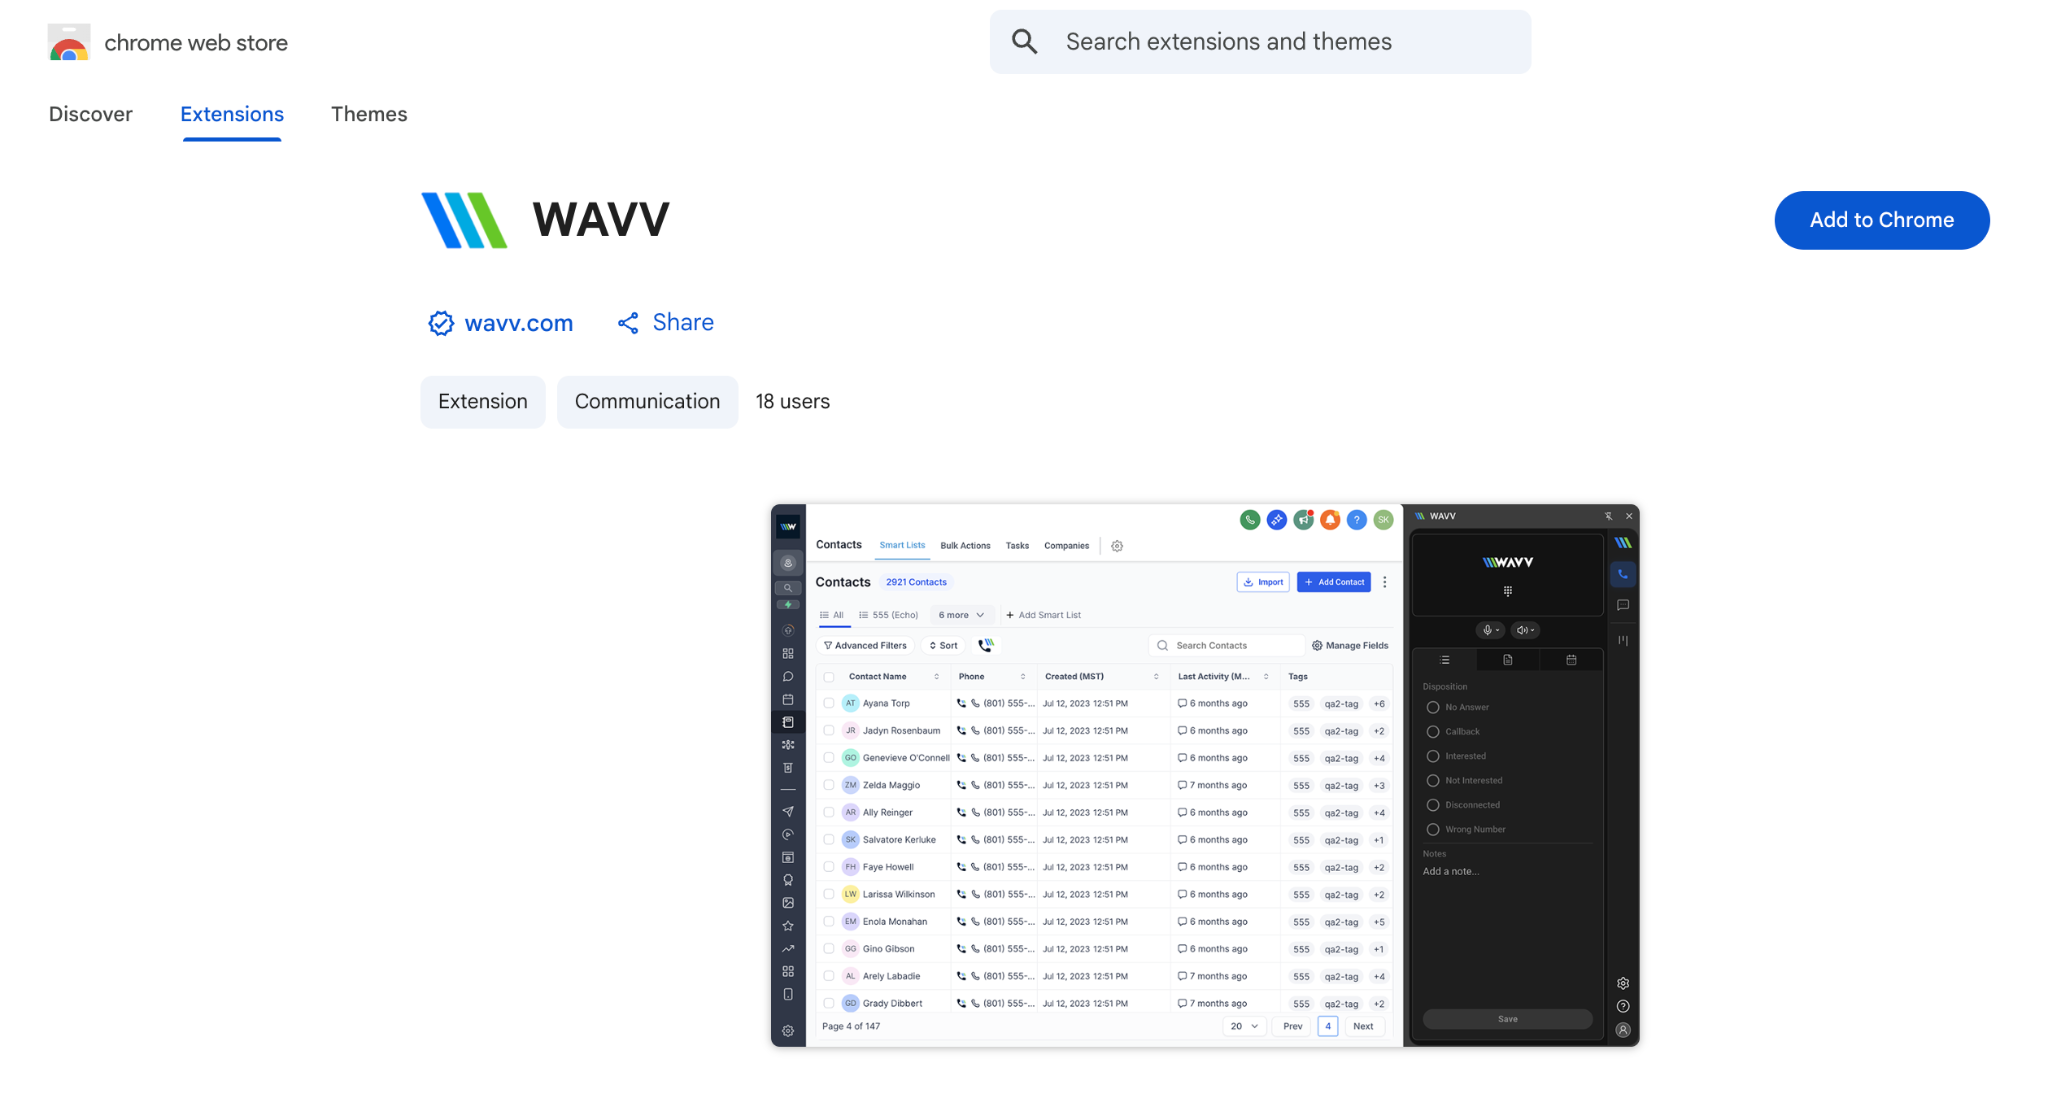
On the Chrome Web Store listing, click the blue “Add to Chrome” button to install WAVV.
STEP 4
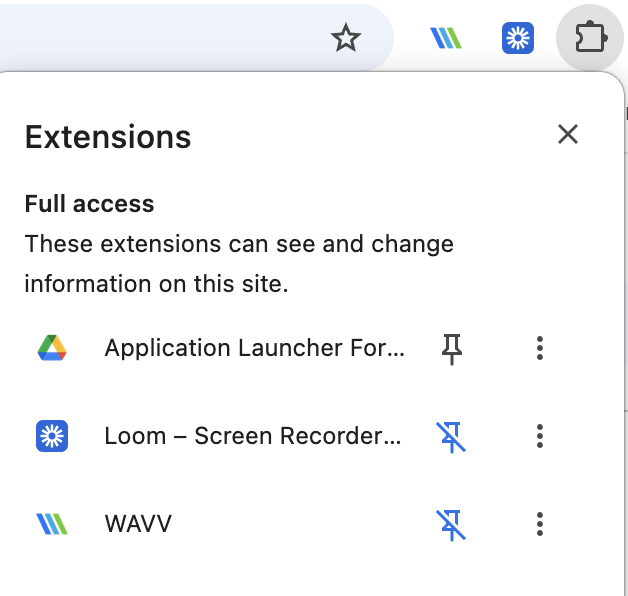
Click the puzzle piece icon in your Chrome toolbar, find WAVV in the list, and click the pin icon so it's always visible.
STEP 5
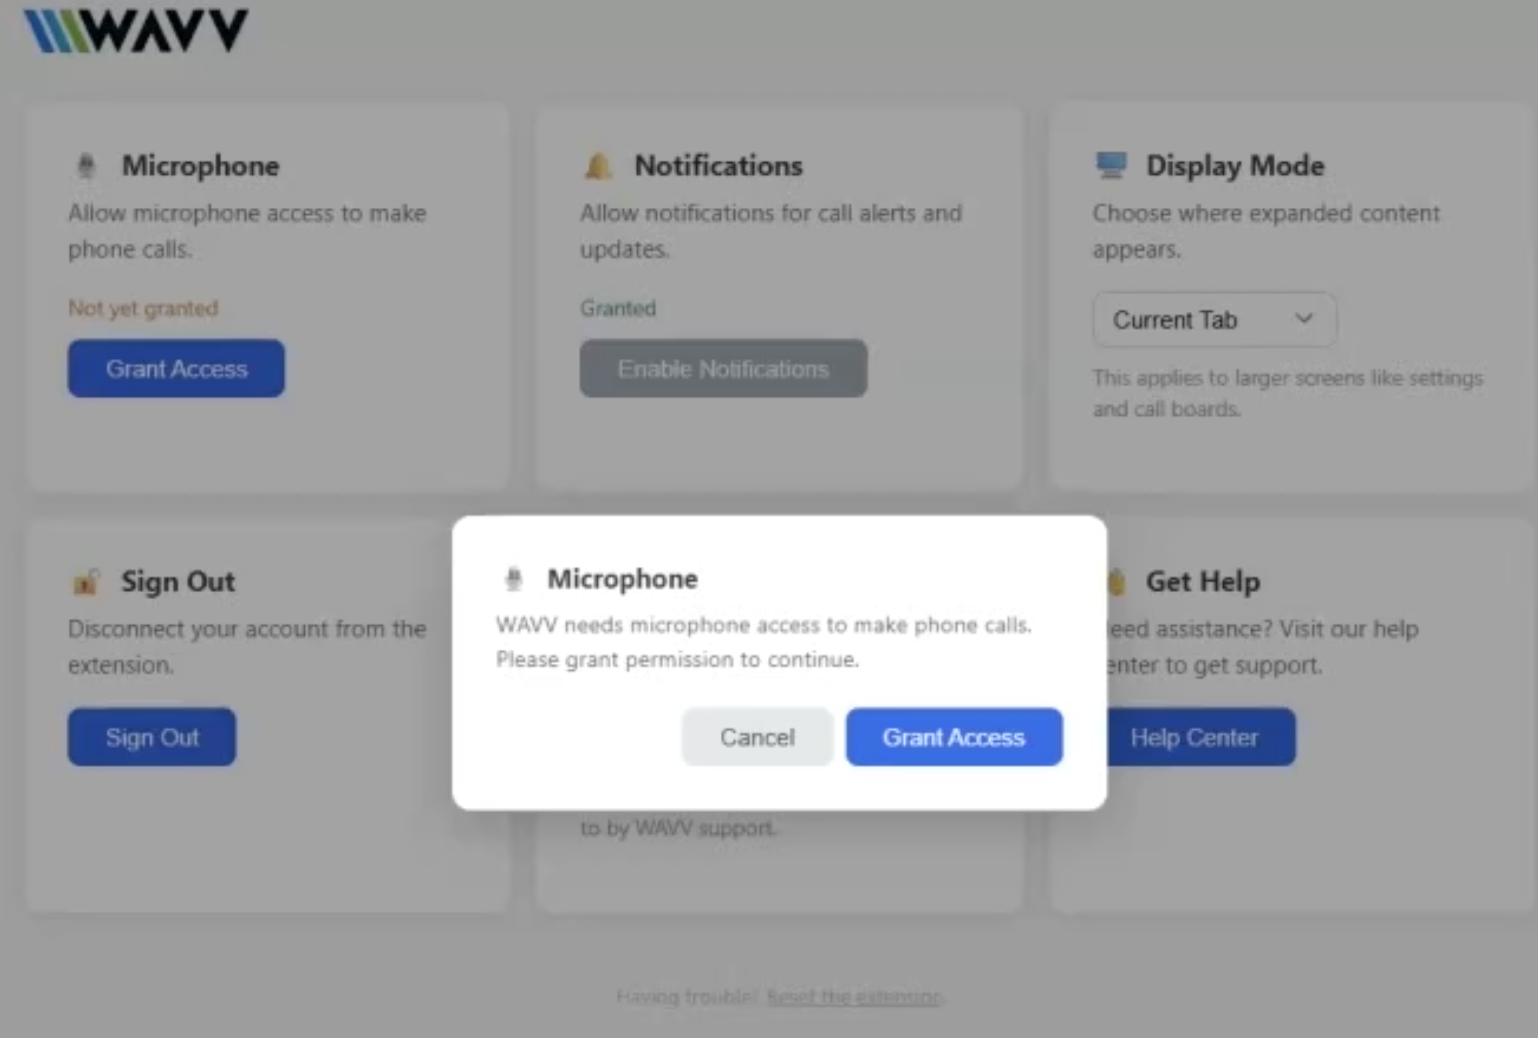
Click “Grant Access” to allow microphone permissions, and enable notifications so you never miss a call alert.
STEP 6
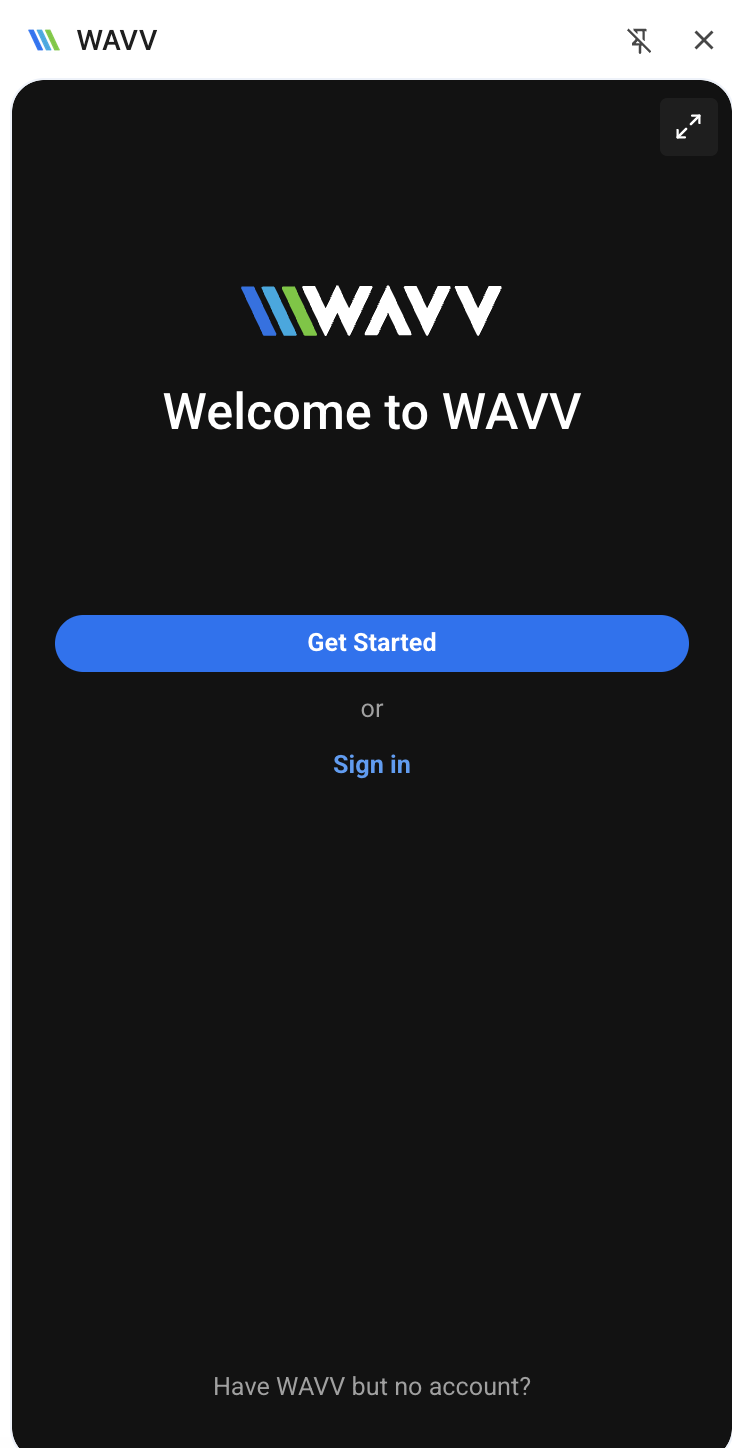
Click the WAVV icon and tap “Sign In.” Enter your account email, then enter the 6-digit verification code sent to your inbox.
STEP 7
WAVV must run in the same Chrome window as your CRM. The side panel stays active as you move between tabs.
7
STEP 8
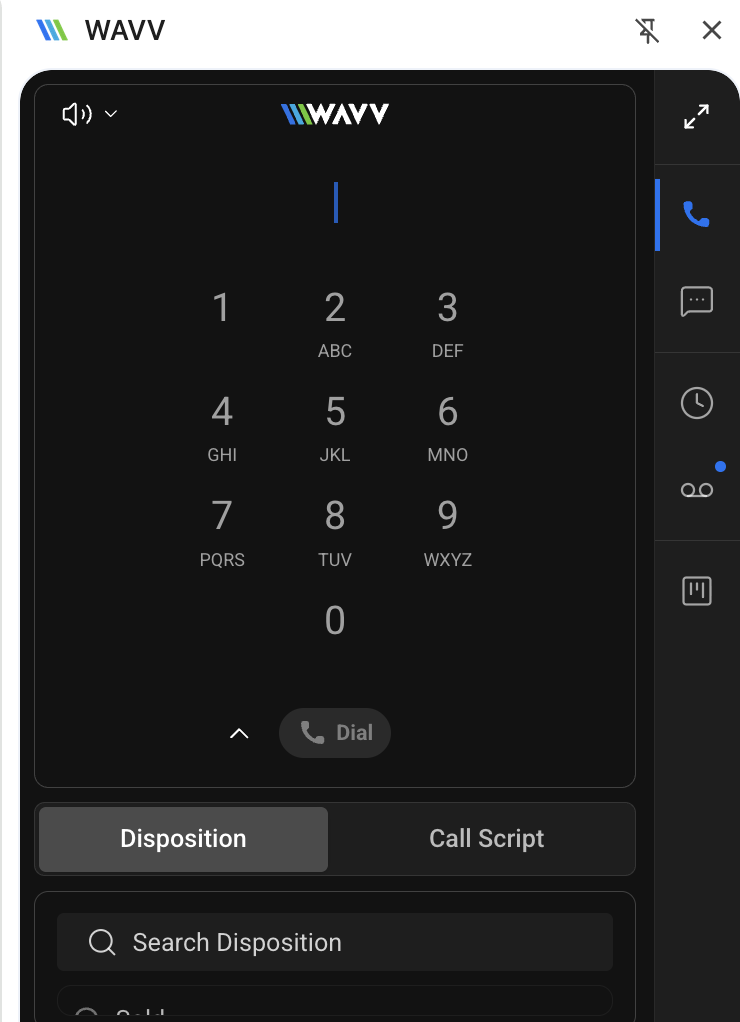
Use the dial pad in the side panel to place a test call, and confirm audio and local presence rotation are working.
STEP 9 · OPTIONAL
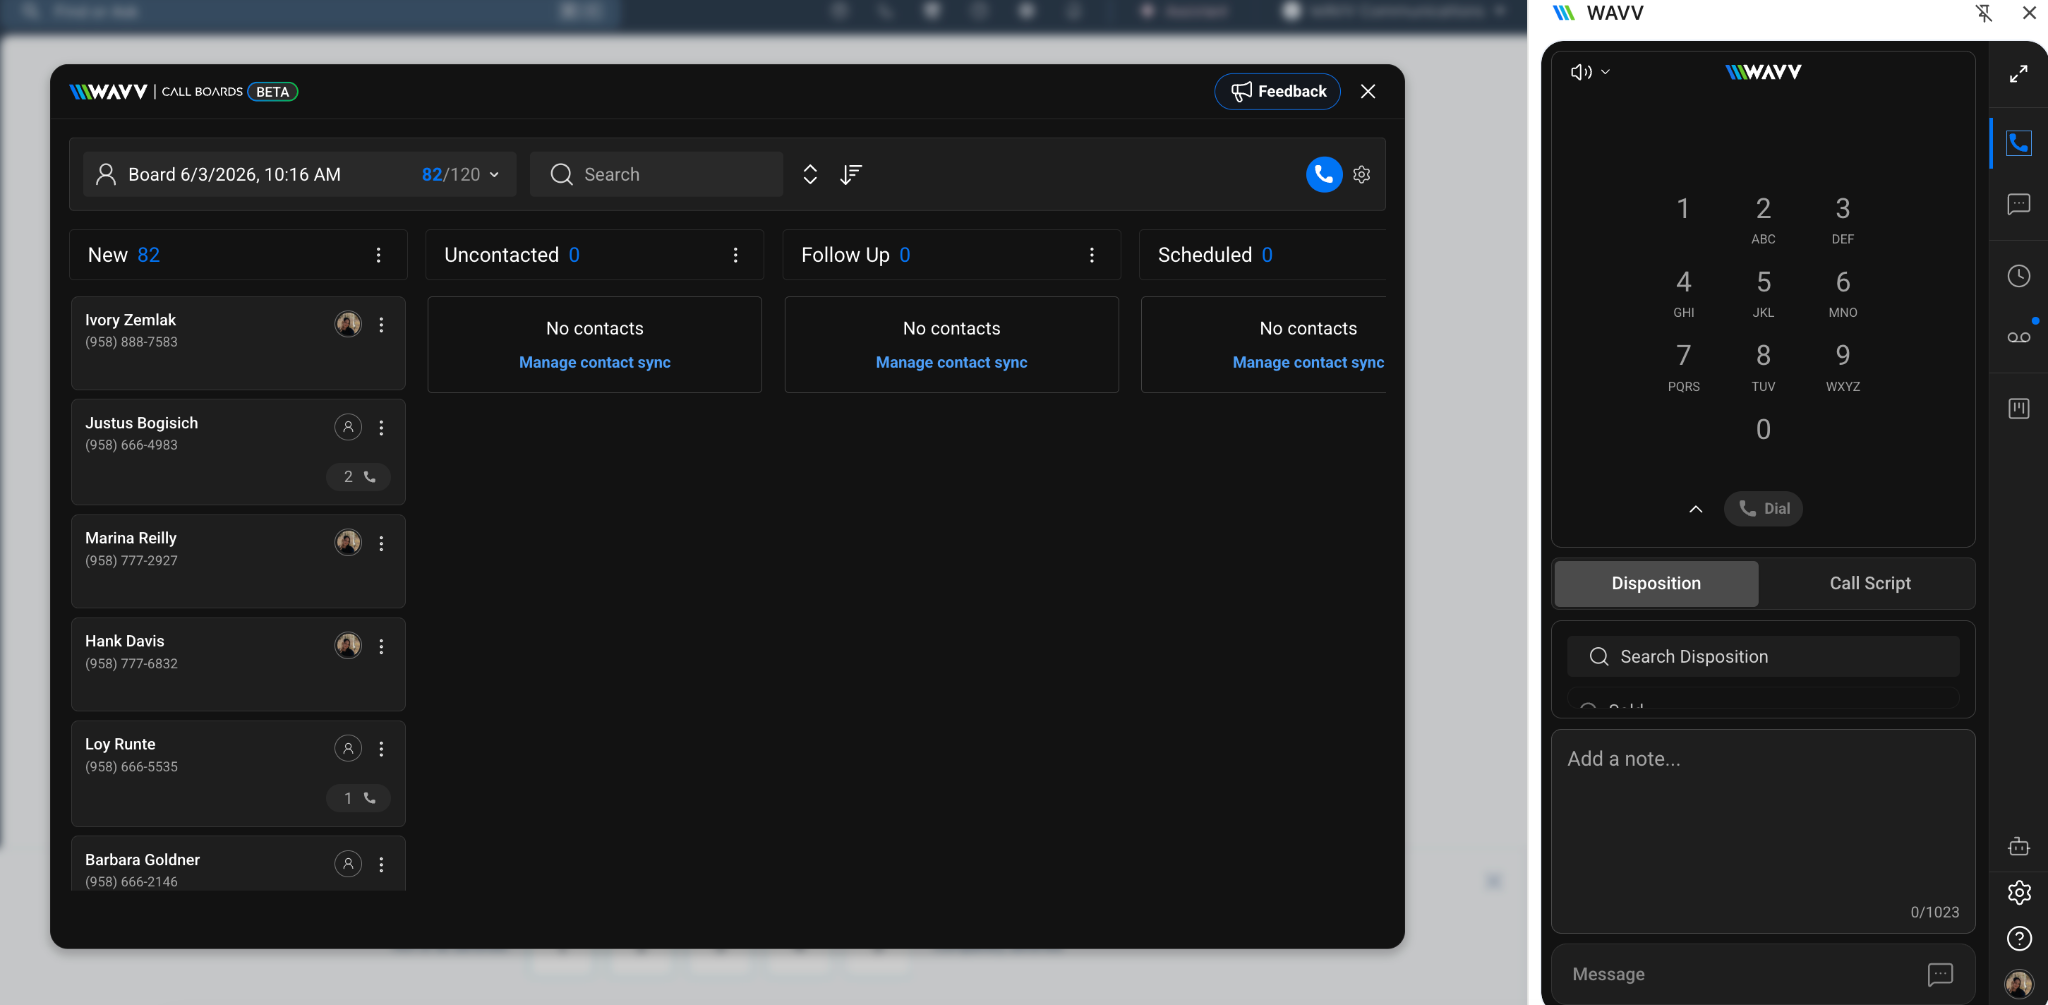
Right-click the WAVV extension and select Options. Choose whether Callboards and Manager open in a dedicated tab, a pop-up, or your current tab.
YOU'RE ALL SET
Your WAVV Chrome Extension is installed and ready to go. Open your CRM, start a Callboard, and make your first call.
